1
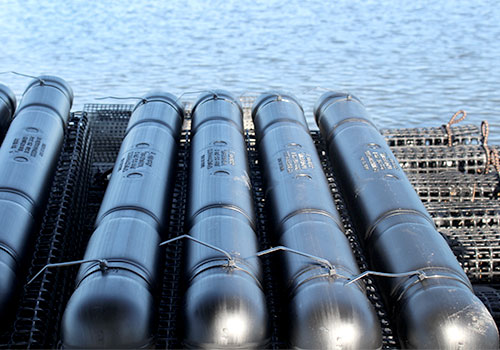
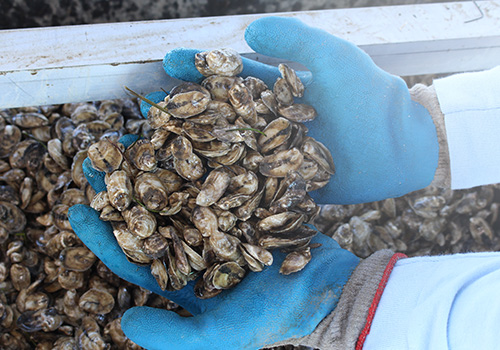
It all begins with tiny oysters. Don’t be fooled, these lil’ outlaws are small but mighty. Ranging anywhere from ¼ to ½ inches long, thousands live together in floating bags, eating ‘til their heart’s content.

2
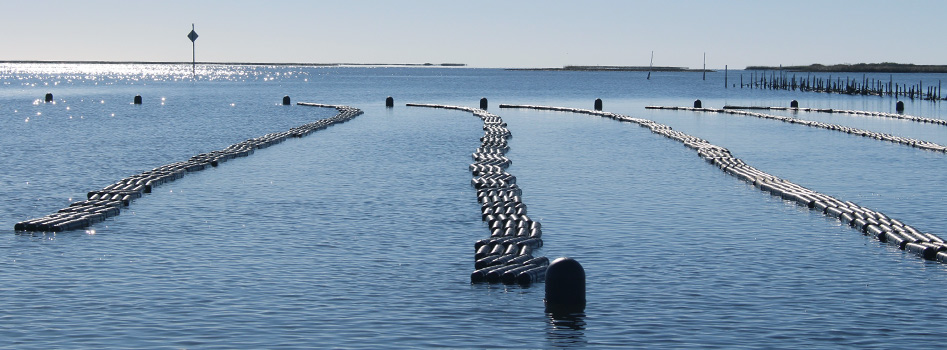
Hanging just below the water’s edge, our oysters are able to chomp up all the nutrients found at the
surface. This floating farming technique ensures that our bad boys (and gals) aren’t stuck at the bottom, taking in grit and sand. We don’t raise bottom feeders!
3
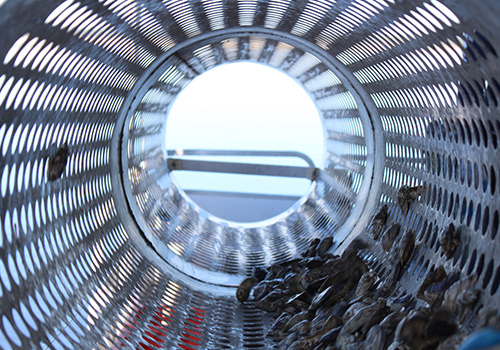
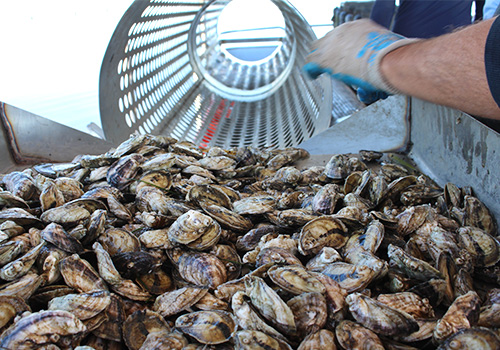
Oysters of the same size must be sorted and grouped together in the floating bags. Otherwise the big
boys would suffocate the smaller slower growers. It’s ‘sort of’ a big deal. To accomplish this, we have a custom-built tumbler that separates by size.
4
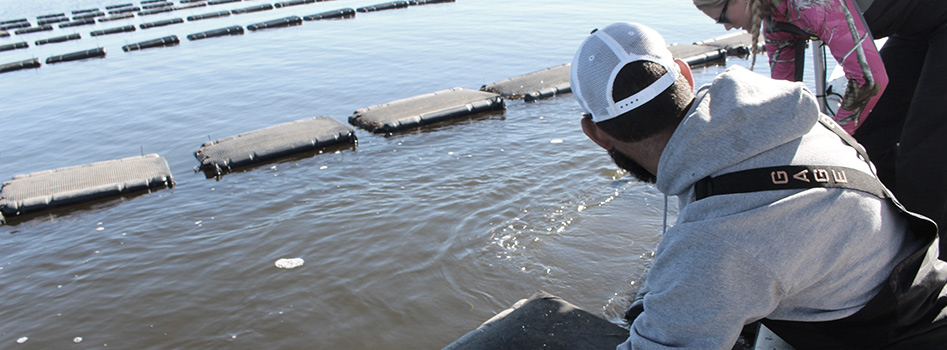
Oysters flip for a good sun bathing. We rotate the floating bags to allow for a small dose of Vitamin D –
which kills algae, bacteria and barnacles on the shell. Plus, this tumbling process breaks away small pieces on the shell ridge, helping the oyster grow deeper not longer. Real talk: it means a meatier oyster.

5
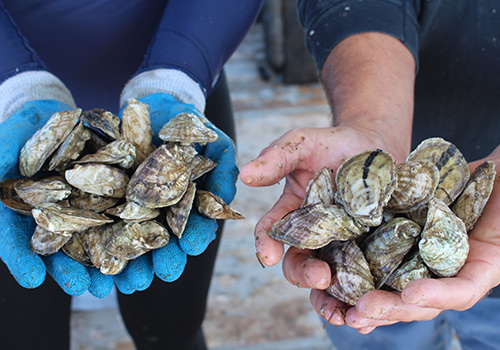
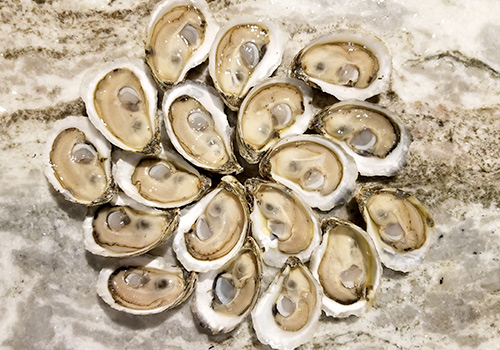
Within 6 – 8 months, the oysters are market size. Having purified 50 gallons of water per day, they not only make for a tasty treat but are helping purify our ocean and bay during the process. We’ll drink to that.


Join Our Community